Micronaut Demo Project
Take a look at a Micronaut-based REST API leveraging Result objects
This demo project demonstrates how to handle and serialize Result
objects within a Micronaut application. It provides a working example of a "pet store" web service that exposes a REST API for managing pets.
Generating the Project
The project was generated via Micronaut Launch including features: annotation-api, http-client, openapi, serialization-jackson, swagger-ui, toml, and validation.
Adding Serialization Support
Then Micronaut Serialization for Result objects was manually added as a dependency to serialize and deserialize Result
objects.
dependencies {
// ...
implementation(platform("com.leakyabstractions:result-bom:1.0.0.0"))
implementation("com.leakyabstractions:result")
implementation("com.leakyabstractions:result-micronaut-serde")
}
That's all we need to do to make Micronaut treat results as Serdeable
.
API Responses
API responses contain a Result
field, encapsulating the outcome of the requested operation.
@Serdeable
public class ApiResponse<S> {
@JsonProperty String version;
@JsonProperty Instant generatedOn;
@JsonProperty Result<S, ApiError> result;
}
Results have different success types, depending on the specific endpoint. Failures will be encapsulated as instances of ApiError
.
Controllers
Controllers return instances of ApiResponse
that will be serialized to JSON by Micronaut:
@Controller
public class PetController {
// ...
@Get("/pet")
ApiResponse<Collection<Pet>> list(@Header("X-Type") RepositoryType type) {
log.info("List all pets in {} pet store", type);
return response(locate(type)
.flatMapSuccess(PetRepository::listPets)
.ifSuccess(x -> log.info("Listed {} pet(s) in {}", x.size(), type))
.ifFailure(this::logError));
}
}
Since failures are expressed as ApiError
objects, endpoints invariably return HTTP status 200
.
Running the Application
The application can be built and run with Gradle.
./gradlew run
This will start a stand-alone server on port 8080.
Testing the Server
Once started, you can interact with the API.
curl -s -H 'x-type: local' http://localhost:8080/pet/0
You should see a JSON response like this:
{
"version": "1.0",
"result": {
"success":{
"id": 0,
"name": "Rocky",
"status": "AVAILABLE"
}
}
}
Using Swagger-UI
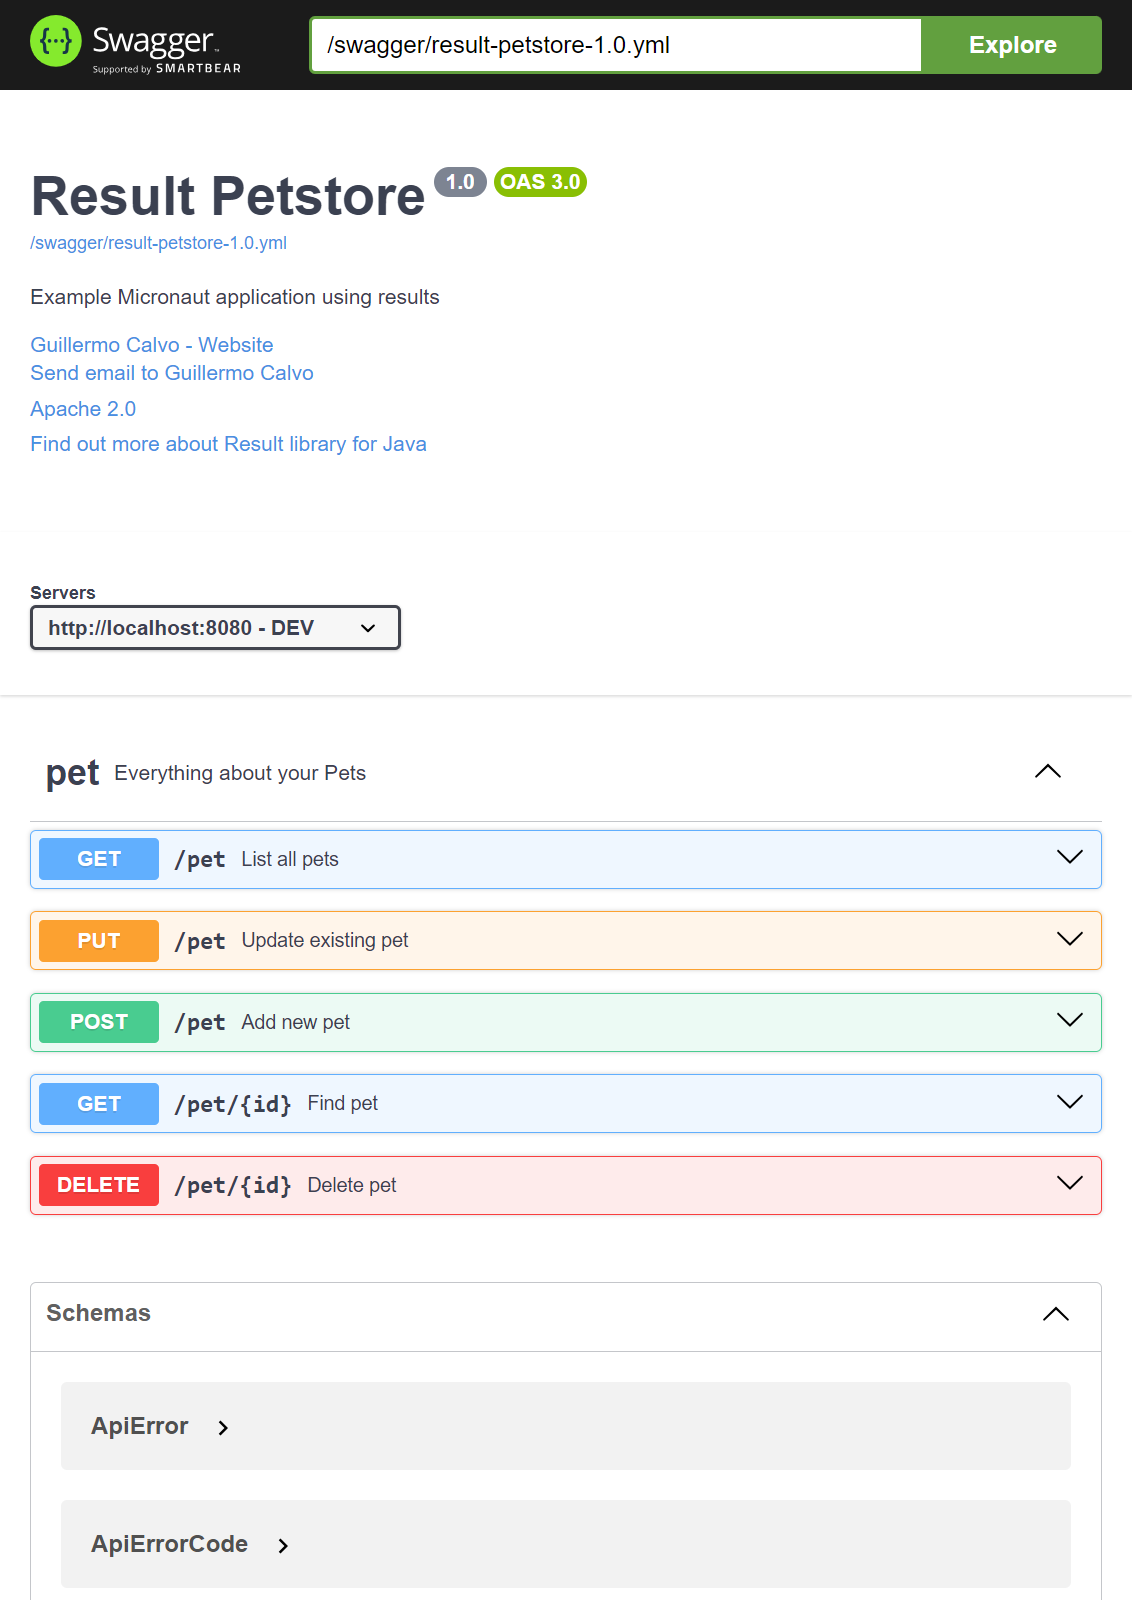
You can navigate to http://localhost:8080/ to inspect the API using an interactive UI.

The full source code for the example application is available on GitHub.
Last updated
Was this helpful?